
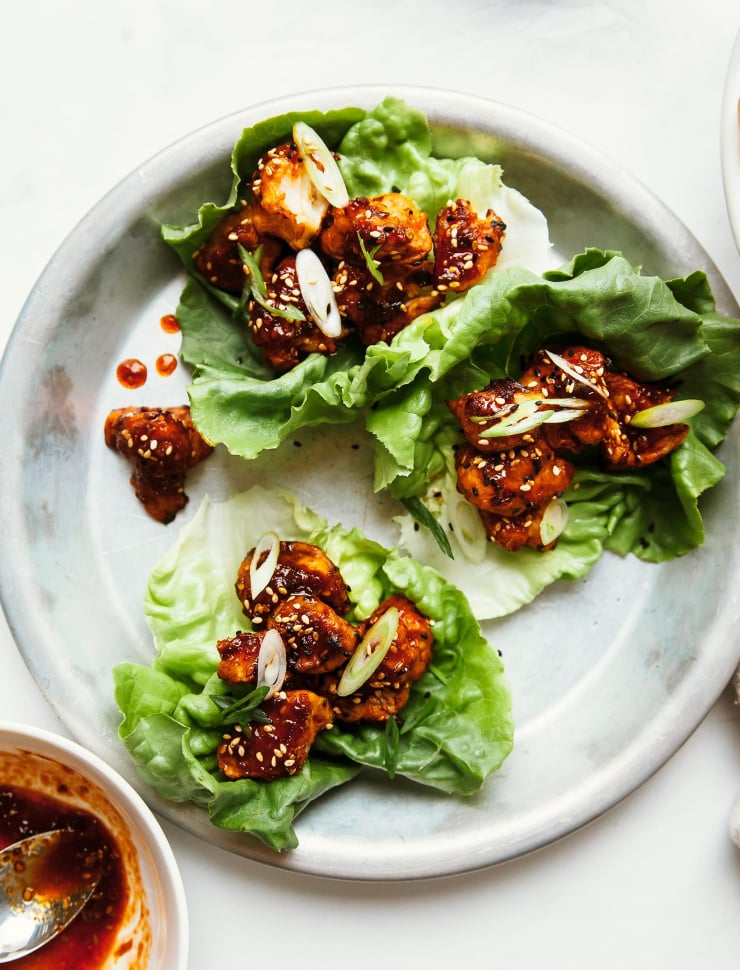
Lightly battered, baked, and sauced cauliflower is a revelation! With this crispy sesame cauliflower you get these saucy little bites that make a great appetizer! The homemade sticky sauce has a bit nutty edge from sesame oil and a touch of heat as well. The slightly crunchy edge, tender cauliflower, and savory sauce combo is just outstanding. As one reader put it: “At first everyone thought it was chicken. Then I told them it was cauliflower. The vegans were thrilled and everyone else loved it too!” That’s the kind of crossover reaction I love to hear.
Over time, I’ve discovered that my preferred flour for this batter technique is naturally grain-free too! I like using cassava flour because it’s light, it actually gets kinda crispy in the oven, it doesn’t create a weird pasty quality in the inner parts of the florets, and it doesn’t have a strong flavor either.
So yes, cassava flour is your friend for cauliflower “wings” and other battered and baked applications. Once I had this texture and method locked down, my mind naturally went to other possible sauces. I had been dreaming of sticky, slightly sweet, chili-flecked, and sesame oil-slicked nuggets of cauliflower on a pile of rice or tucked into a crisp lettuce leaf. It was surprisingly easy to fix up with mostly pantry stuff.
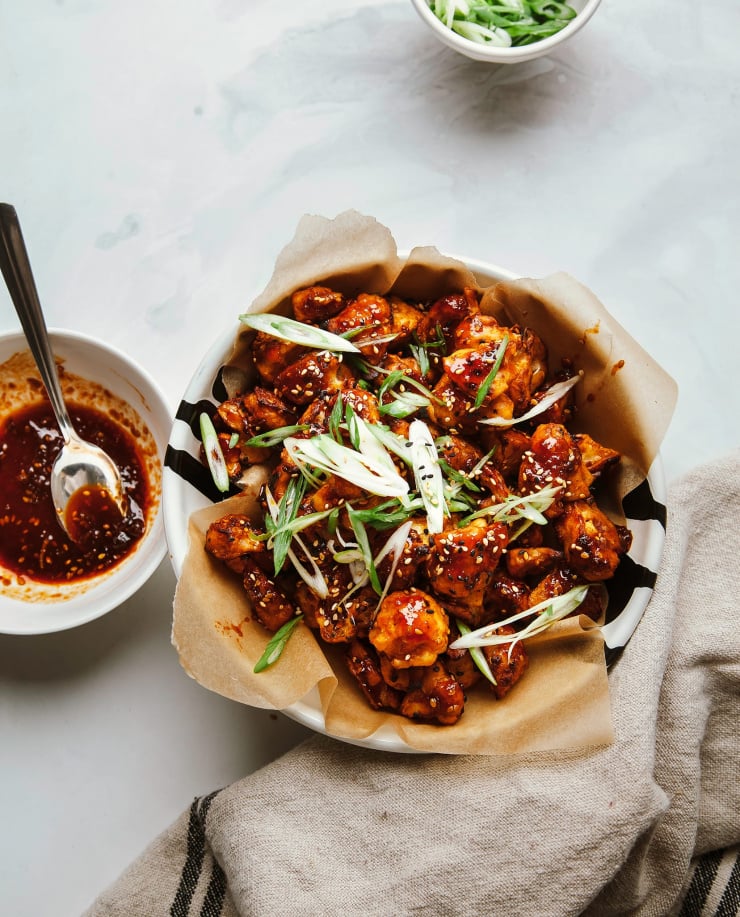
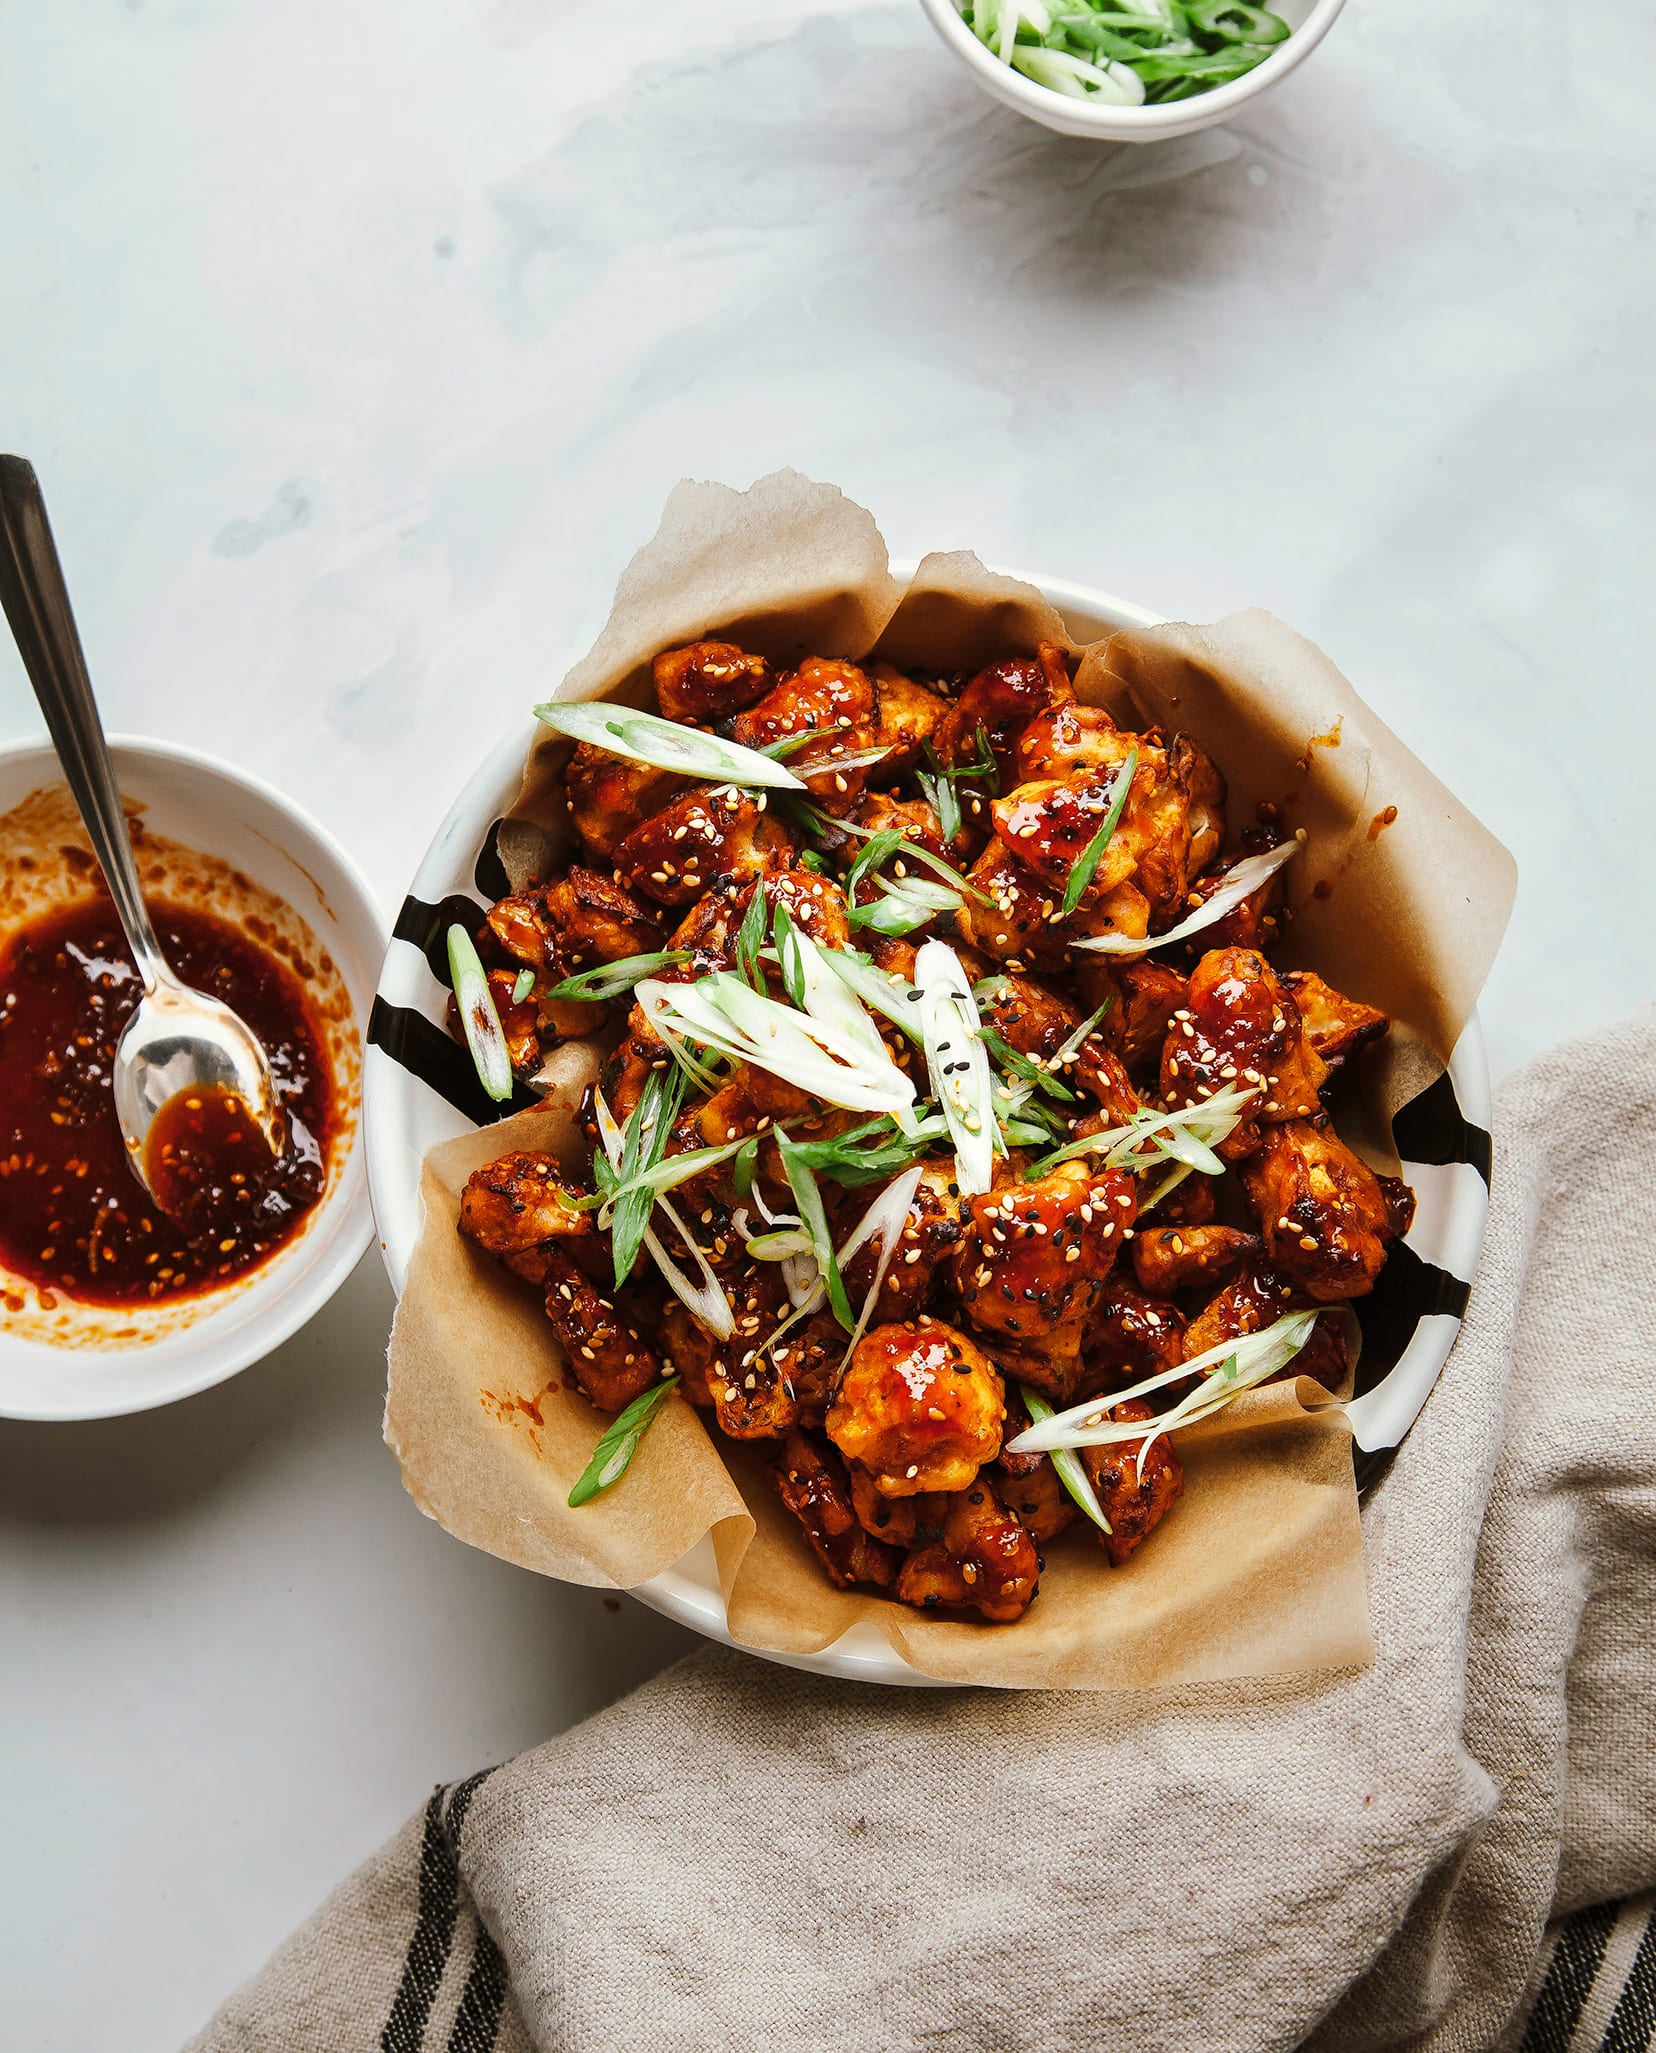
The battering technique itself is a bit more fussy than typical recipes I post. For this reason, I’d recommend serving up this crispy sesame cauliflower on the simple side. I’ve shown it in lettuce wraps with some extra sauce, chopped green onions and a sprinkle of sesame seeds. It’s easy and fresh. This cauliflower also fits in nicely in a rice bowl setup!
If you want a similar vibe with less work, I recommend trying my roasted cauliflower lettuce wraps with sweet chili sauce. There’s no batter-coating step!
Sticky and Crispy Sesame Cauliflower
Ingredients
For the cauliflower
- 1 medium head of cauliflower, about 1 ½ pounds
- 1 cup cassava flour
- 1 ½ cups water, plus extra
- ½ teaspoon garlic powder
- 1 tablespoon sesame seeds
Sticky Sesame Sauce
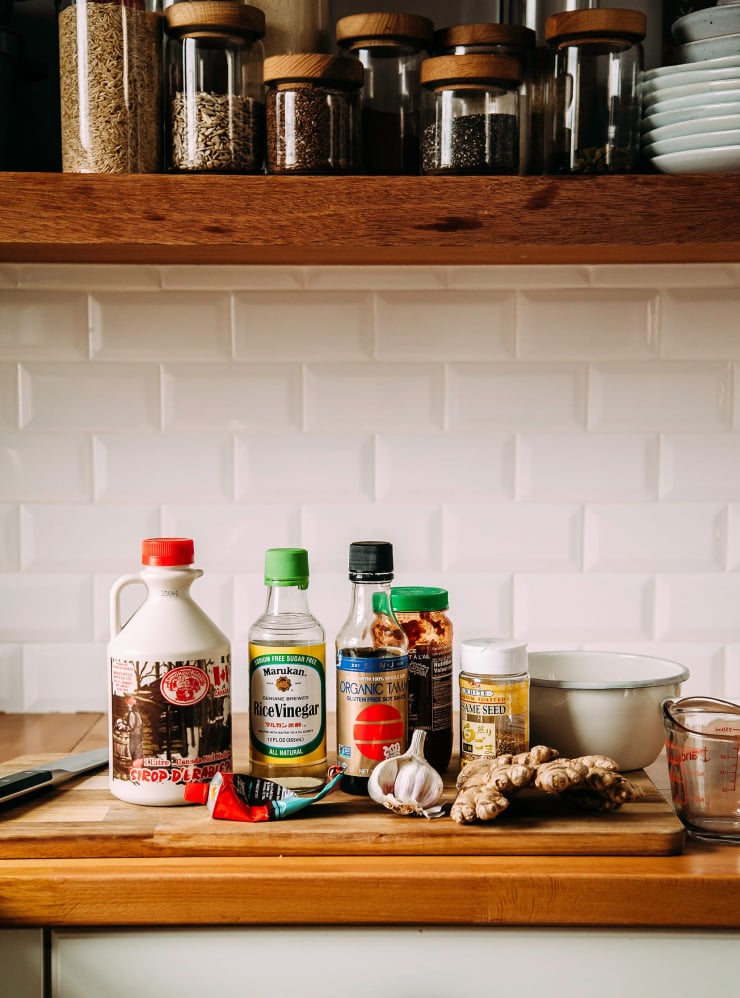
- ½ cup low sodium soy sauce
- ¼ cup maple syrup
- 2 tablespoons toasted sesame oil
- 2 tablespoons rice vinegar
- 1 tablespoon tomato paste
- 2 tablespoons chili paste/hot sauce (such as Gochujang), or to taste
- 3 cloves garlic, peeled and finely minced
- 3-inch piece fresh ginger, peeled and finely minced
- 2 tablespoons sesame seeds
Notes
- Cassava flour makes a nice, crispy coating and is my favourite for cauliflower “wings”. If you don’t want to use cassava flour, you can substitute brown rice, chickpea or regular wheat flour. Lower the amount of water to 1 cup if you’re making this substitution (and add more if necessary)! Note that these other flours will not firm up/crisp up as much as the cassava.
- It’s important to really keep an eye on these towards the end of the cooking process. They can go from perfect to burnt in what feels like seconds.
- I use a Microplane to get the garlic and ginger nice and fine for the sauce
- A few readers have mentioned the coating softening up after the second bake. For the best texture, make sure the florets have plenty of space on the baking sheet during both bakes (overcrowding traps steam and keeps things from crisping), and keep a close eye during the second bake instead of walking away. Every oven runs a little differently, so pulling them the moment the sauce sets and the edges deepen in color makes a real difference.
- If you’re sensitive to salt, feel free to cut the low sodium soy sauce by a tablespoon or two, and taste the sauce before tossing it with the cauliflower. A number of readers have found it a touch salty for their taste, and it’s an easy one to dial back without losing the sticky texture
Instructions
- Preheat the oven to 450°F. Line 2 baking sheets with parchment paper.
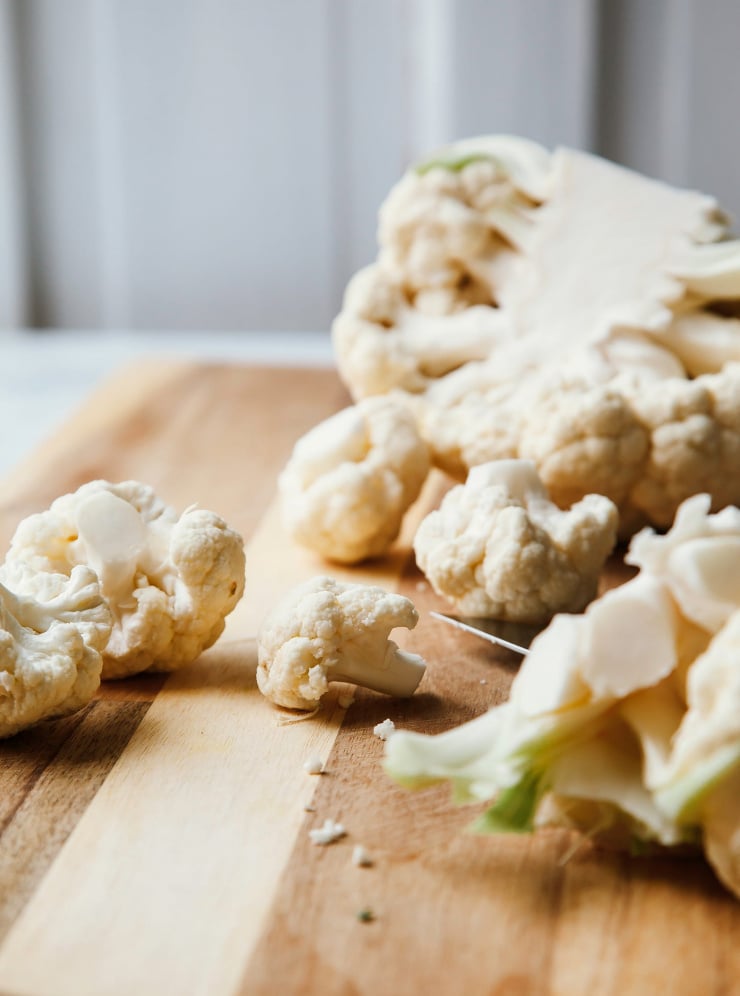
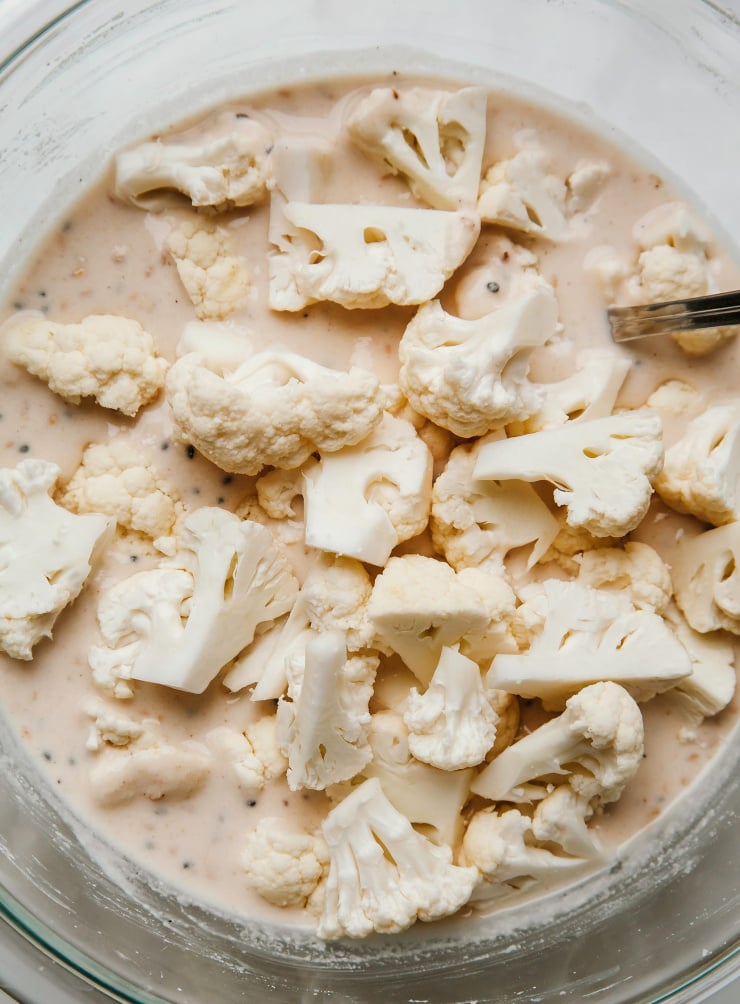
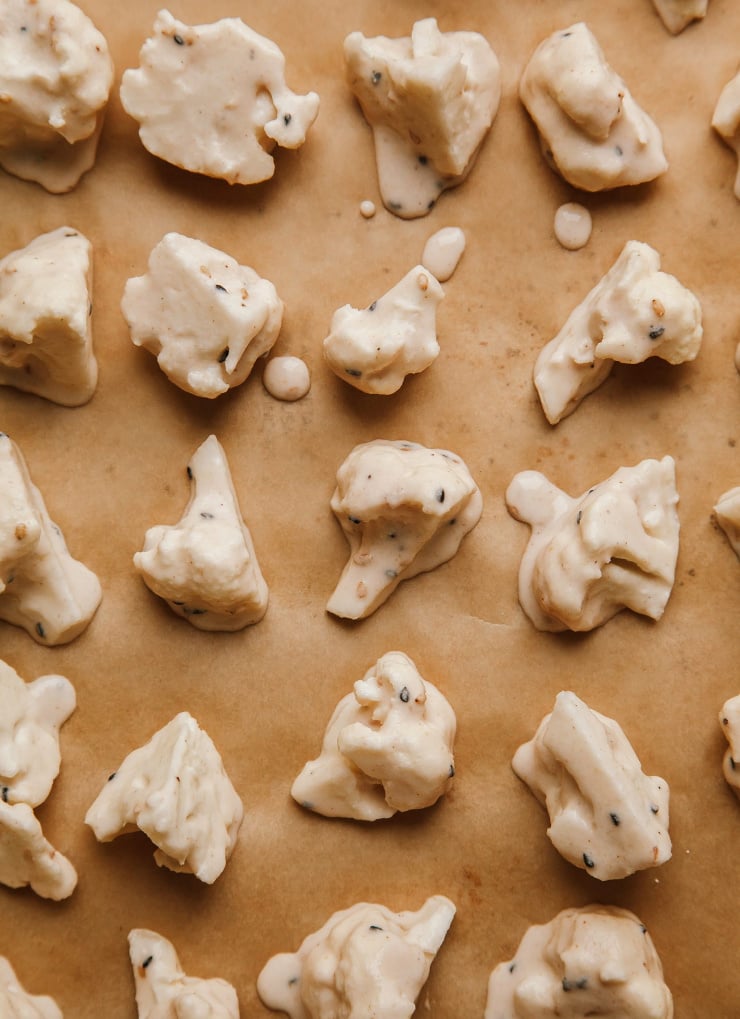
- Cut the cauliflower into small florets. In a large bowl, combine the cassava flour, water, garlic powder, and sesame seeds. Whisk to combine. The resulting batter should be fluid but thick–thick enough to coat a piece of cauliflower and pool only slightly once set on the baking sheet. If the batter is too thick/pasty, add water by the tablespoon until you reach the proper consistency.
- Drop the cauliflower florets into the batter and stir until all pieces are coated. Using a fork, carefully transfer battered cauliflower to the baking sheets, leaving 1 inch of space around each floret.
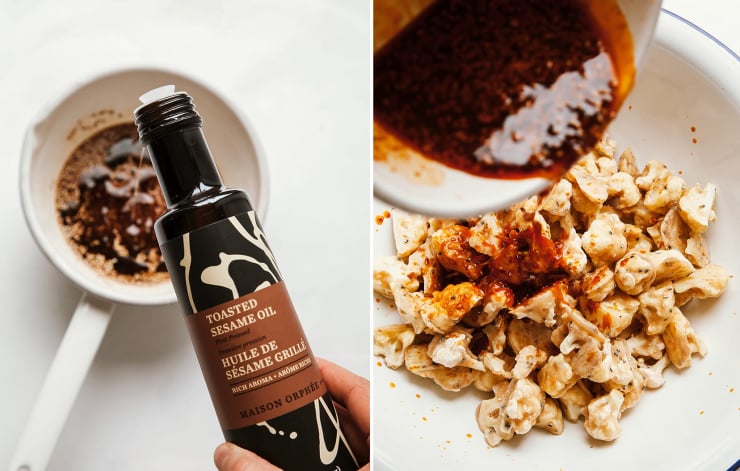
- Bake the battered cauliflower for 20 minutes. While the cauliflower is baking, make the sauce. In a small saucepan combine the soy sauce, maple syrup, sesame oil, rice vinegar, tomato paste, chili paste, garlic, ginger, and sesame seeds. Bring the sauce to a boil on the stove over medium heat. Simmer for 5 minutes or until slightly reduced. Set aside.
- After cauliflower has baked for 20 minutes, remove and let cool slightly. Once it's cool enough to handle, transfer the par-baked cauliflower to a large bowl. Cover the cauliflower with all but 1/4 cup of the sesame sauce. Toss to thoroughly coat the cauliflower.
- Bake the cauliflower for another 15-20 minutes, or until the edges are starting to darken. Depending on positioning in the oven and just overall hotness of your oven, you may have to take them out of this second bake sooner. Just keep an eye on them! Remove the cauliflower when the sauce has “set” around the edges and all florets are a deep golden brown. Let the Cauliflower sit for a full 5 minutes before serving in lettuce wraps, on rice etc., drizzled with remaining sauce and topped with extra sesame seeds, and chopped green onions.


cooked this last night and it was a massive hit with my kids! I was trying to recreate a version of this we love at our favourite Japanese restaurant. Success. Thank you so much. I used plain (all purpose) flour and just added water till it seemed like the right consistency. And I added the batter to the cauliflower florets in a bowl bit by bit till they were coated but not smothered. I think that helps with the pooling on the tray/batter chip issue. I guess the correct quantity of batter depends on the size of your cauliflower head/size of florets. I also tweaked timings; slightly longer on first bake and shorter on second as the sugary sauce was catching/burning. I’m going to make double quantities next time! So yummy and worth the effort.